Reese’s Pieces Rice Krispie Treats
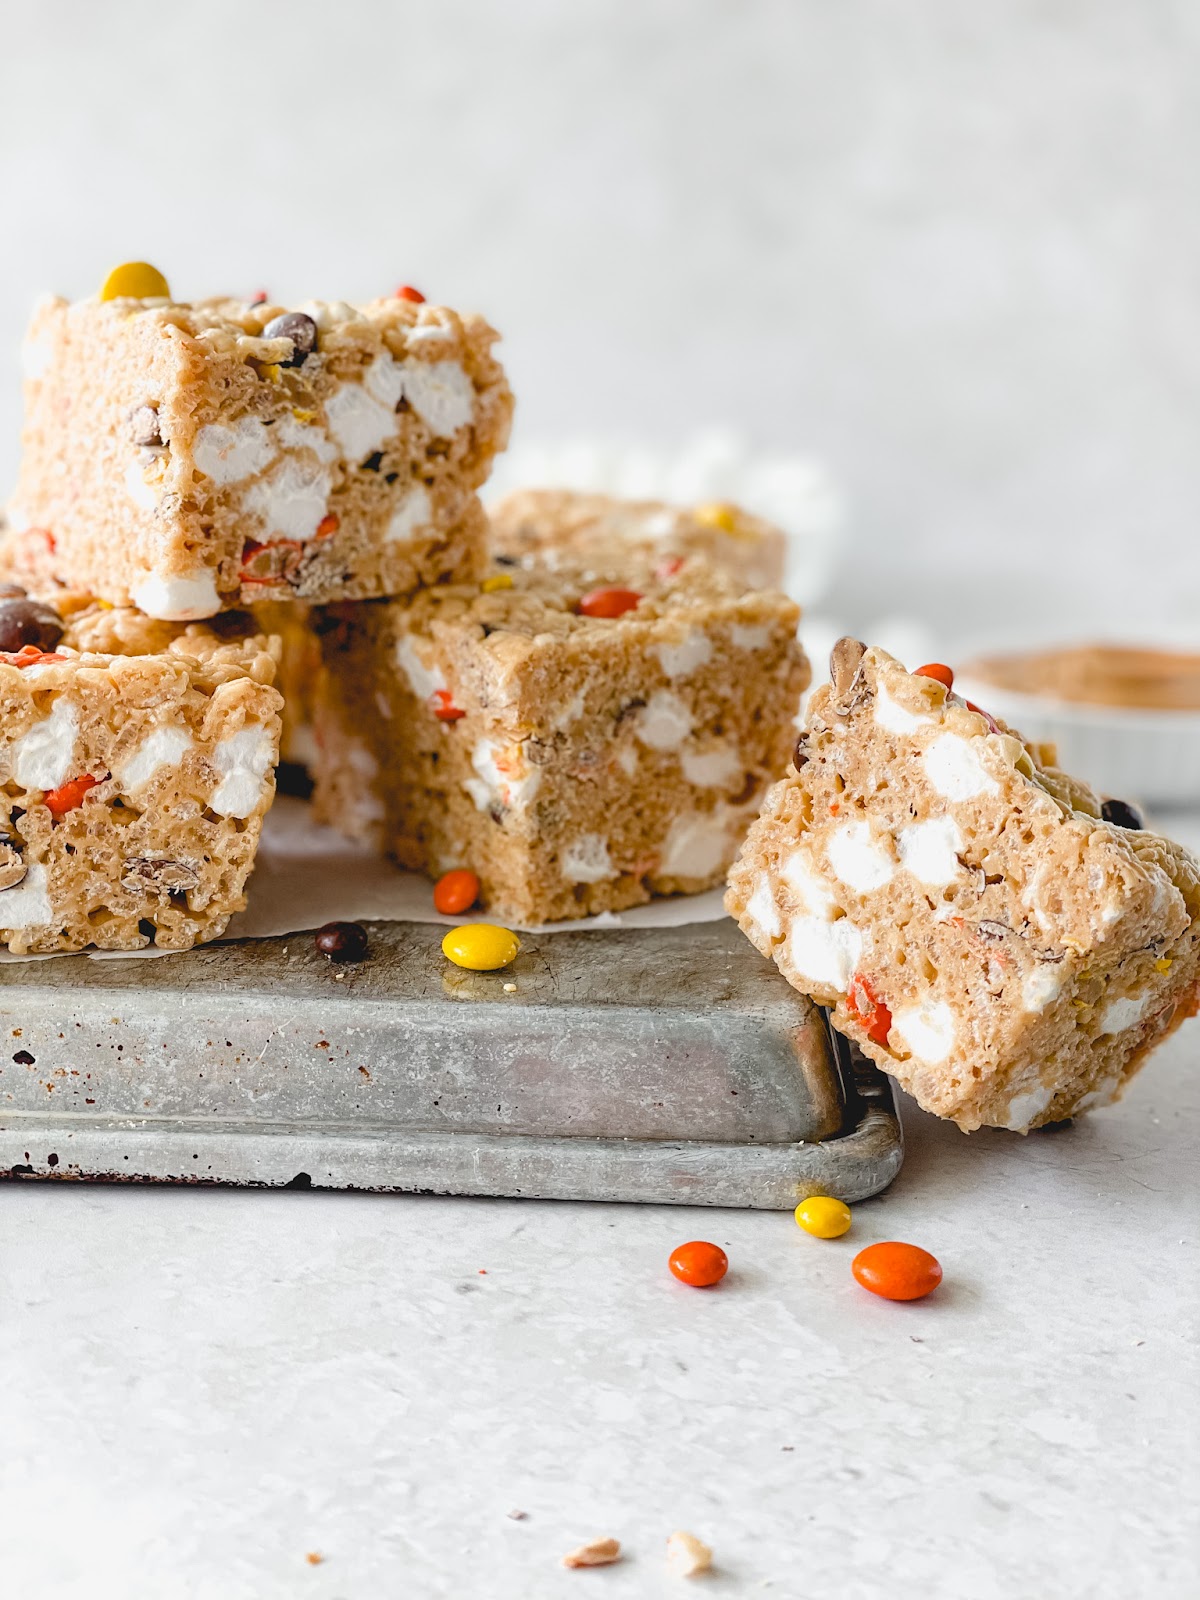
These Reese’s Pieces Rice Krispie Treats are a fun twist on the classic treat. They’re full of toasty brown butter, creamy peanut butter, melty marshmallows, and of course lots of Reese’s Pieces candies. Perfect for any peanut butter lover!
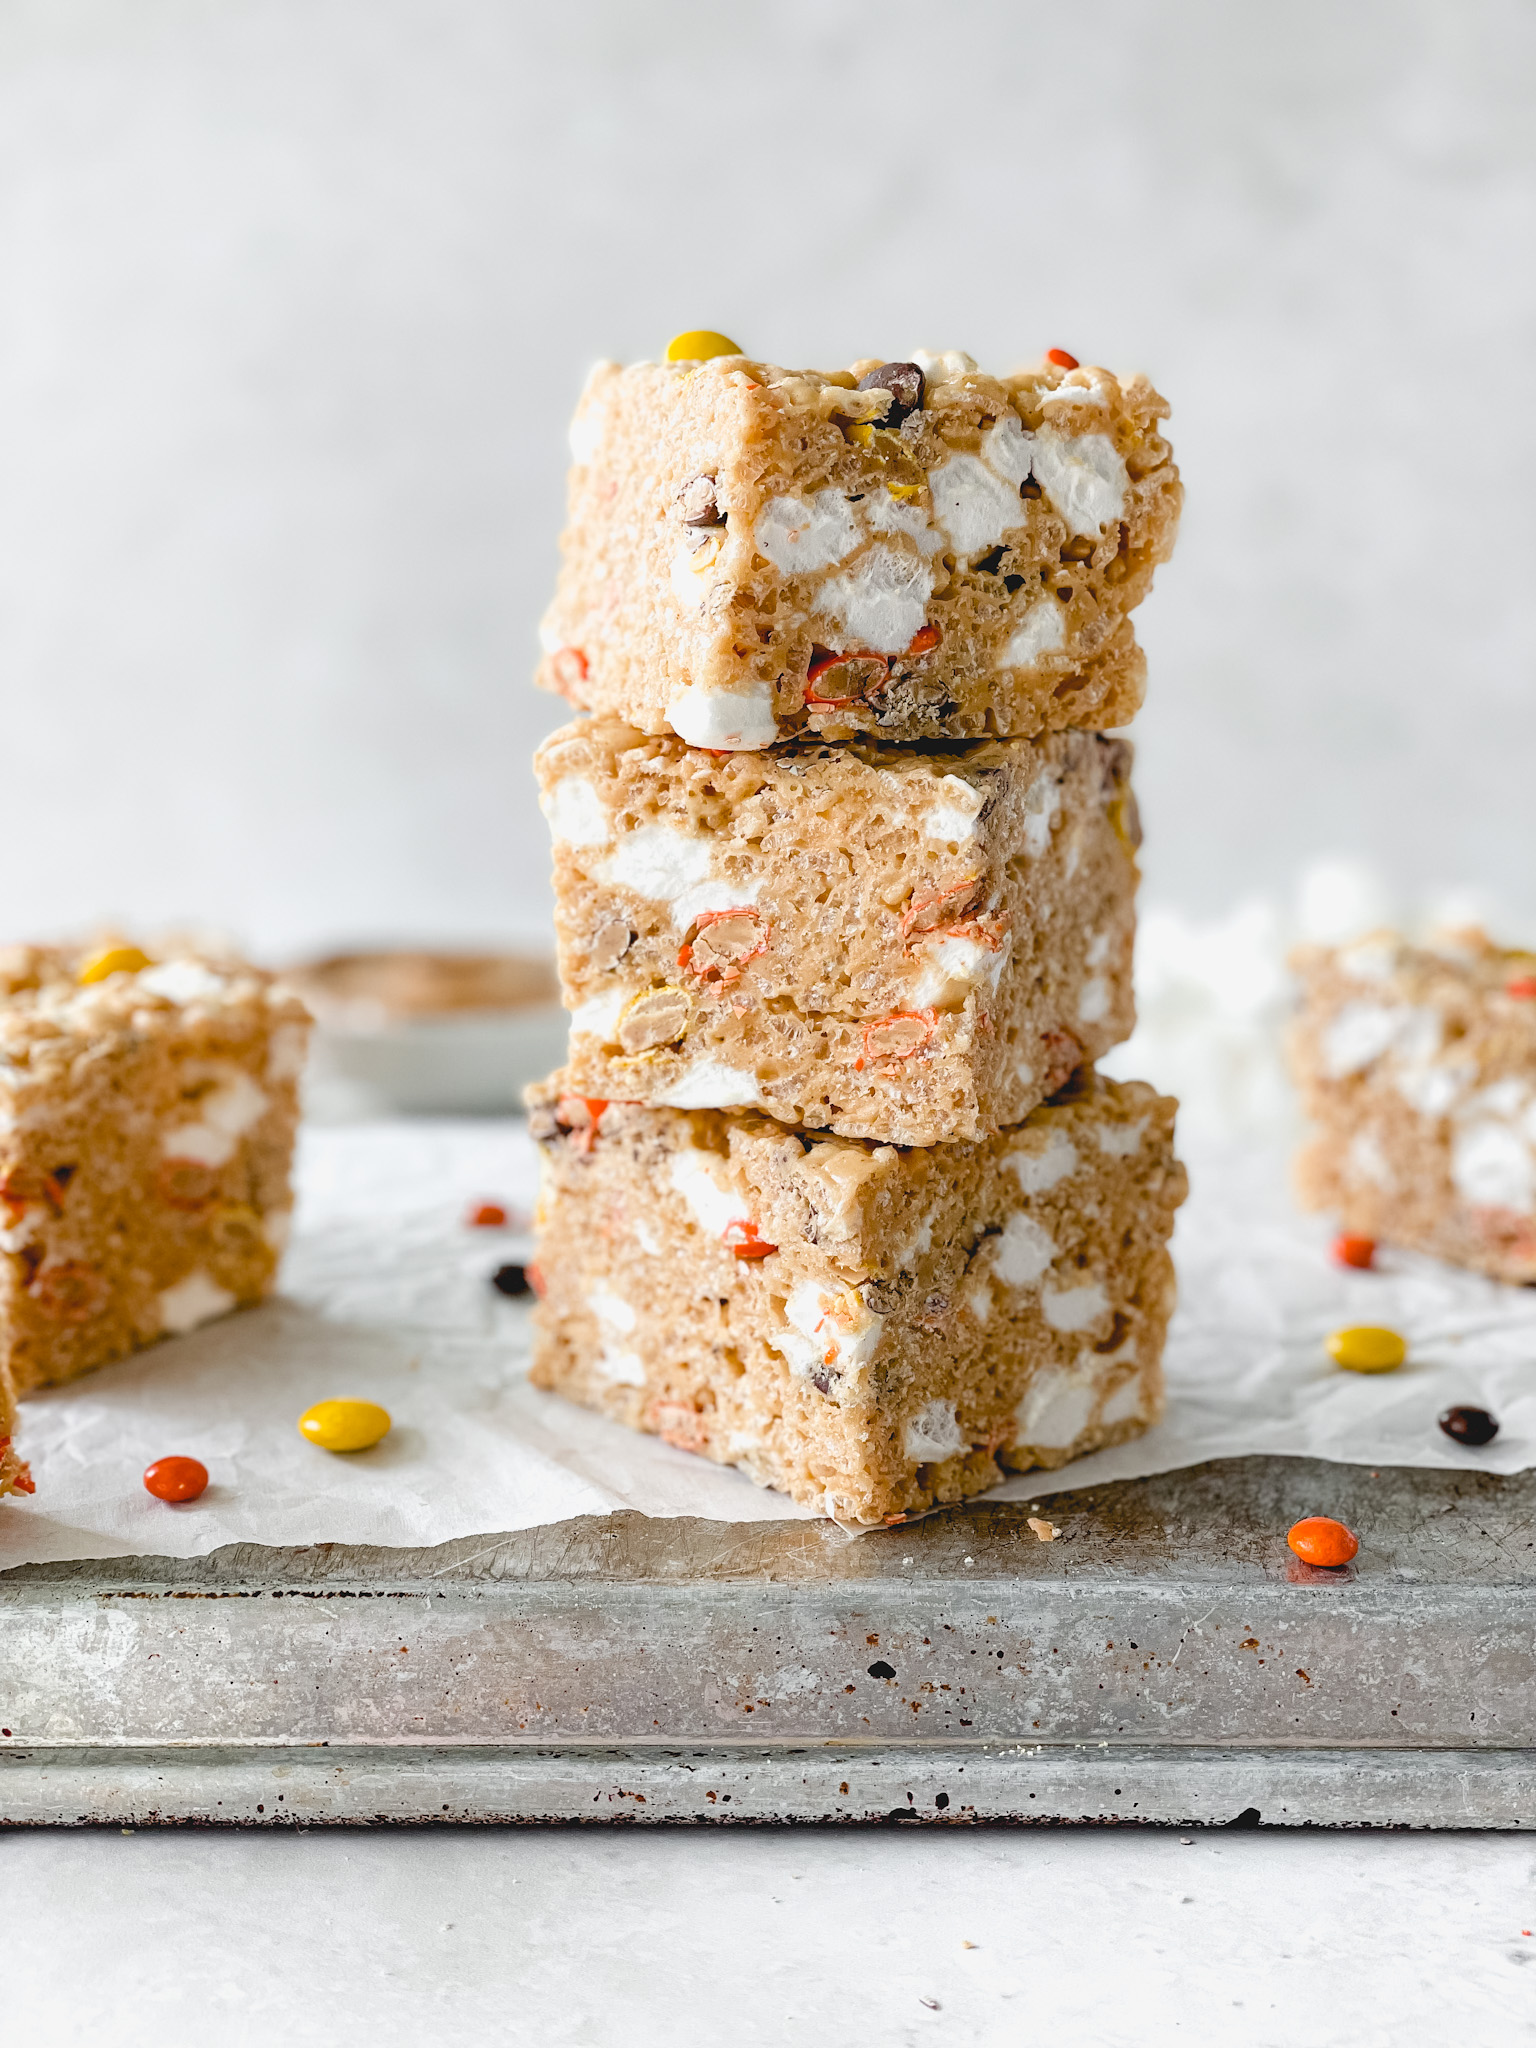
These Reese’s Pieces Rice Krispie Treats are nutty, soft, and chewy. They start with butter that gets browned on the stove which adds a toasty flavor that really elevates these from the plain traditional krispie treat from your childhood. We also add in peanut butter which becomes melty with the marshmallows, then add in Reese’s Pieces candies, and even more marshmallows for more chewy marshmallowy goodness.
I first started making Smitten Kitchen’s salted brown butter crispy treats years ago and fell in love. Deb’s recipes never steer me wrong (I say that like I know her personally but I’m just a long-time follower and lover of her recipes). The krispie treats were no different – everyone I made them for raved about them. So I used those as my inspiration and made a few tweaks. The brown butter is really what makes these special. If you’re a brown butter lover like me, also check out my Brown Butter Blondie Bars and my Brown Butter Toffee Cookie Skillet.

Ingredients
- Peanut Butter. You’ll want to use creamy, conventional peanut butter like Skippy or Jif. Any natural peanut butter will be too oily and runny here. The soft spreadable kind that has sugar added will give these krispie treats just the right texture. It melts perfectly into the brown butter.
- Marshmallows. I prefer using mini marshmallows here, rather than the large ones. You’ll melt ¾ of them, and stir in the other ¼ at the end, for a combo of melty and chewy marshmallows in every bite. The jumbo ones take longer to melt and won’t be very evenly dispersed when you mix them in. Also, make sure your marshmallows are fresh! I made the mistake of using an older, already opened bag for a batch and those stale marshmallows just do not melt the same.
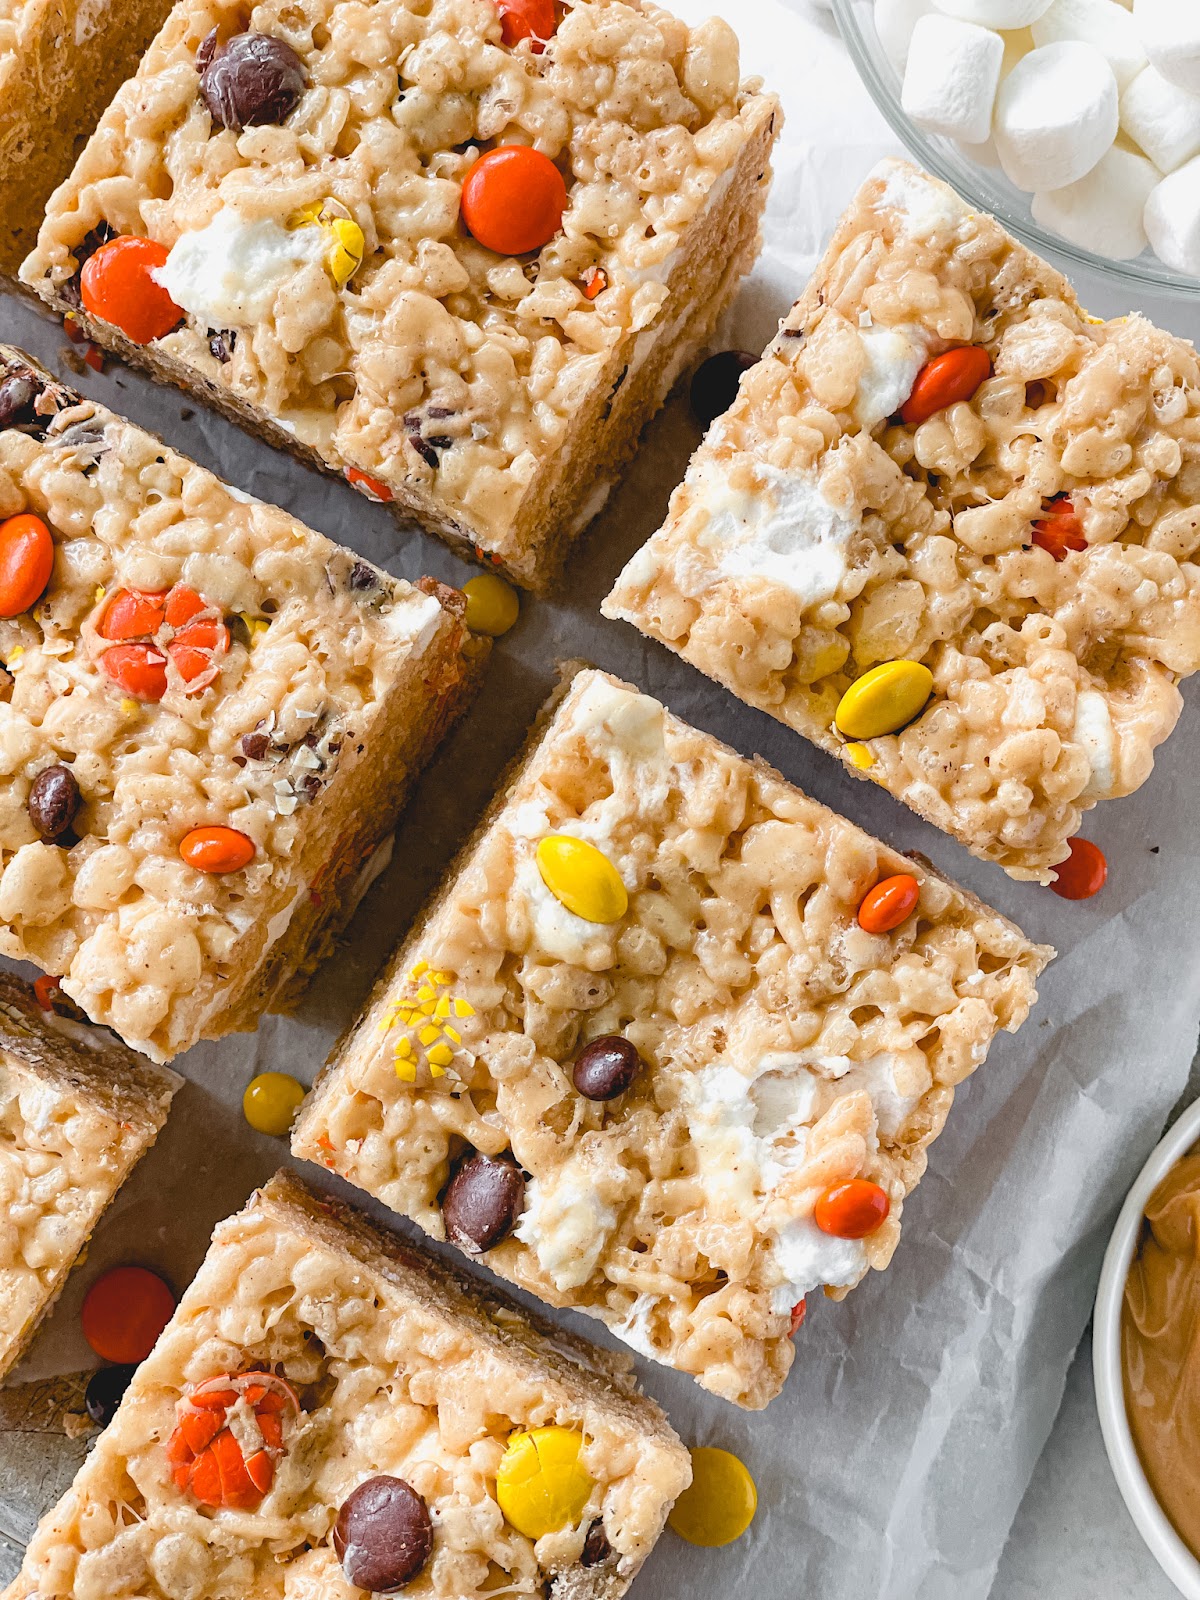
- Reese’s Pieces. The best part (in my opinion) is these delicious peanut butter candies. I used mini-sized and regular-sized Reese’s Pieces. The mini ones are technically sold as an ice cream topping so check the ice cream topping aisle at your store for those. If you can’t find the minis, you can just use all regular-sized ones instead. I like to reserve a few to stick into the top, once it’s pressed into the pan.
How to Make Brown Butter
Brown butter is super simple to make but you want to watch it closely because it goes from browned butter to burnt butter very quickly. Follow these steps for the most success.

- Melt your butter in a saucepan over medium-low heat.
- Once the butter is melted, make sure to stir *constantly* from this point on, and don’t walk away from it. Trust me, you do not want burnt butter.
- It will get foamy on top then the butter will start to turn golden.
- With the foamy top, I’ve found that it can be hard to tell the color of the melted butter underneath. You’ll know your Brown Butter is ready when:
- The butter turns a deep golden brown
- There are little brown specks (the milk solids) that sink to the bottom of the pan
- It will take on a nutty, toasty aroma that smells heavenly
How to Make Reese’s Pieces Rice Krispie Treats
- Brown the butter. You’ll want to do this in a large pot because this is where you’ll add the other ingredients and mix it all together. Follow the step-by-step instructions above for making the perfect brown butter.
- Add the peanut butter and marshmallows. Once the butter is perfectly browned, you’ll add the peanut butter until it melts down. Turn off the heat, then add the marshmallows. The heat from the warm butter/peanut butter mixture should melt the marshmallows. You can turn the heat on low if you’re having trouble getting them fully melted.
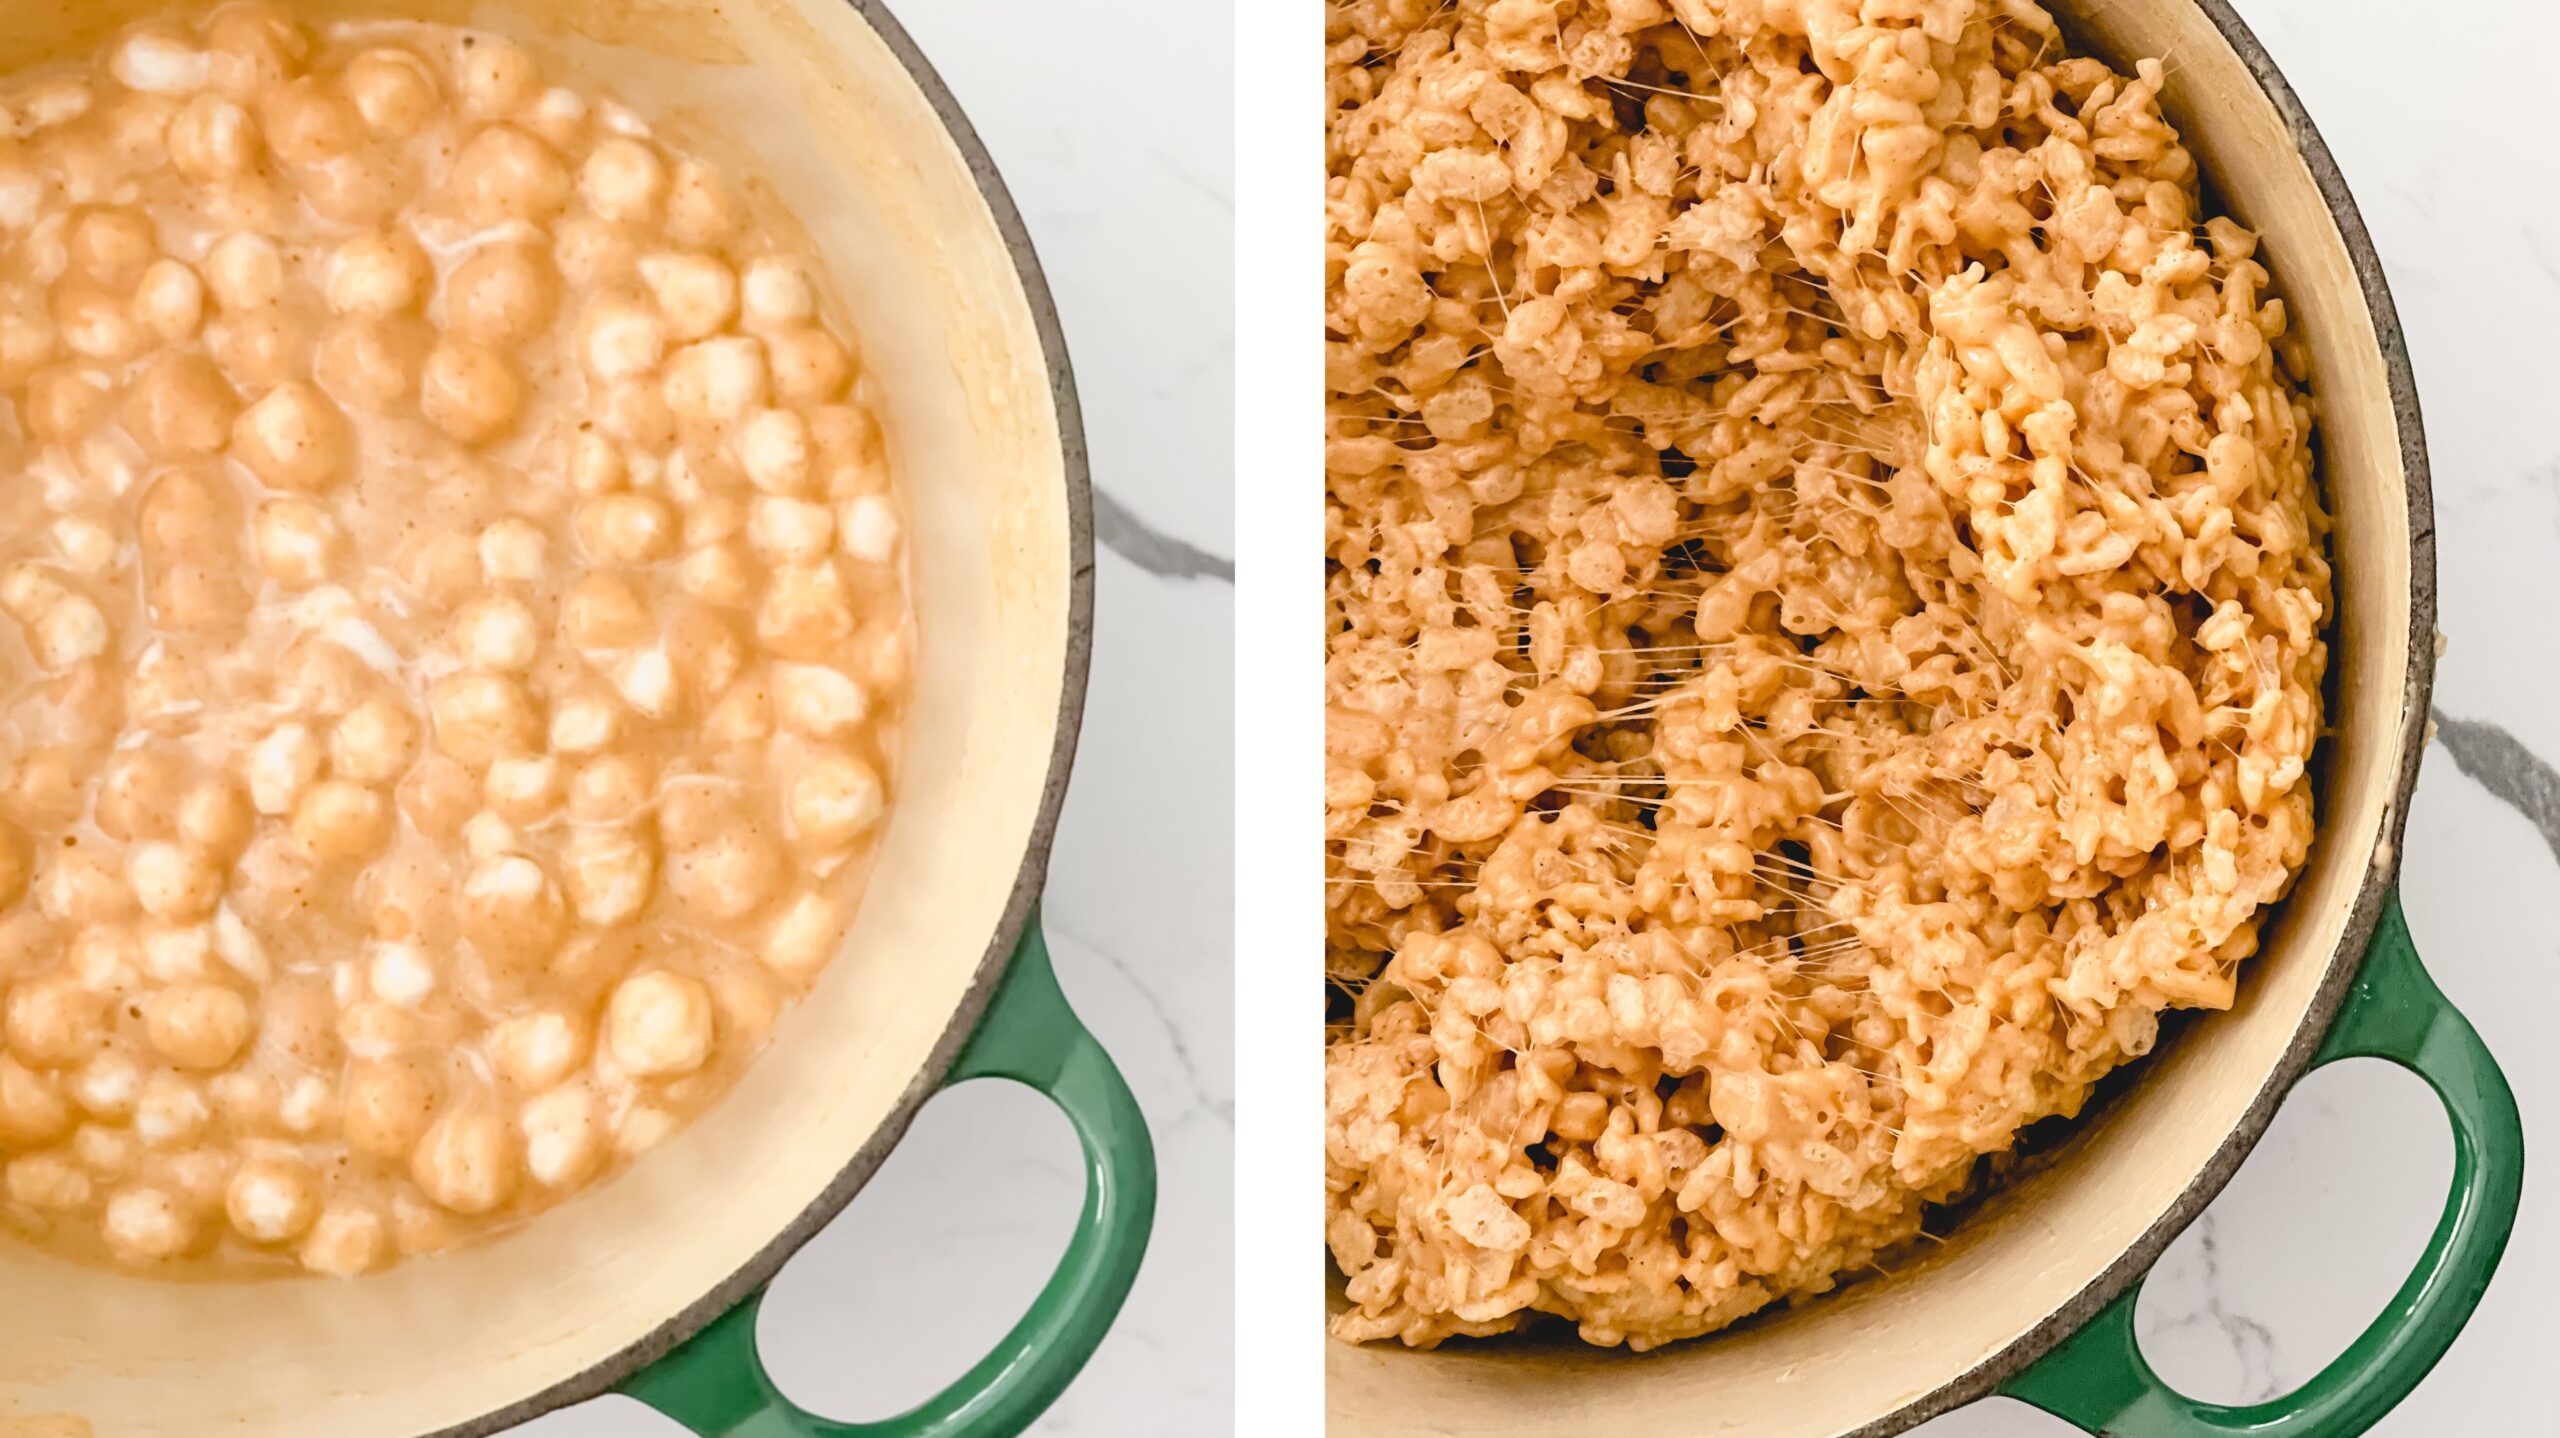
- Mix in the cereal. Once the butter, peanut butter, and marshmallows are fully melted, add the rice krispie cereal. Spray your spatula lightly with cooking spray to keep the mixture from sticking to it while you stir.
- Add the extra marshmallows and Reese’s Pieces. At this point, I find it easier to pour the mixture onto the counter after lightly misting it with cooking spray, then fold in the extra marshmallows and Reese’s Pieces with your hands. It helps to wear gloves lightly greased with cooking spray to do this. You can also just mix it in the pot with a spatula instead.
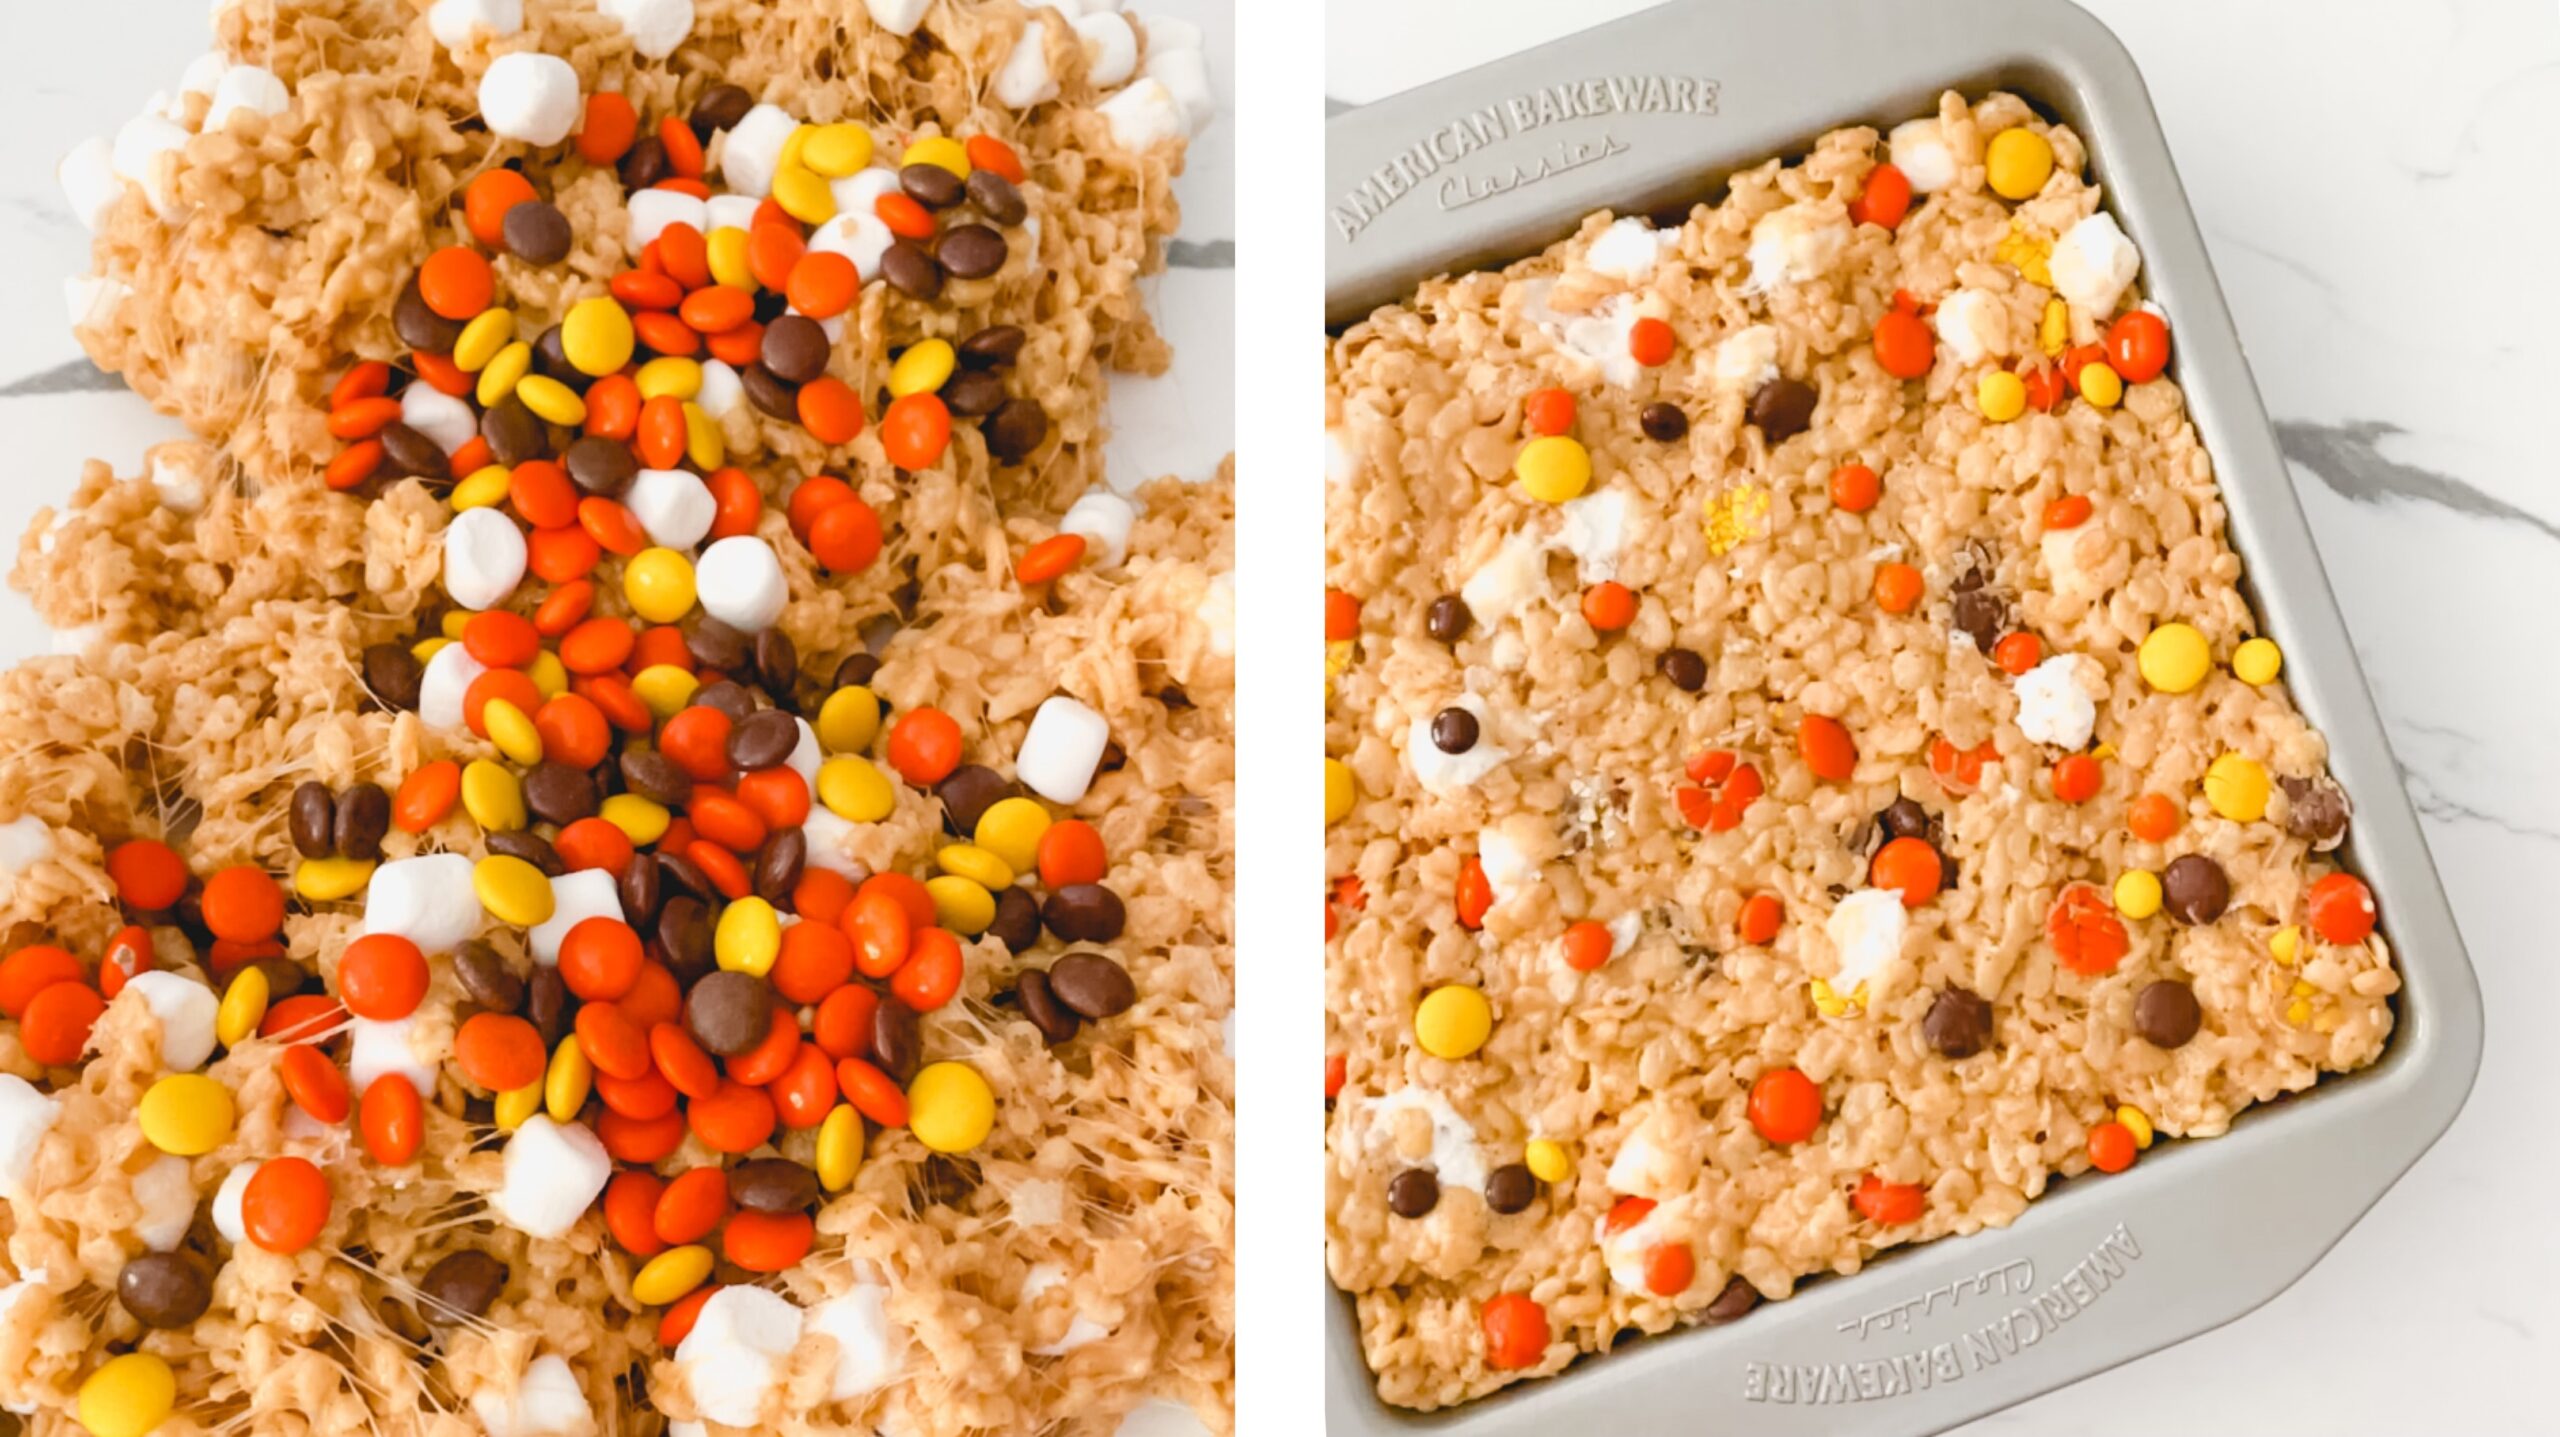
- Press into pan. Be sure to spray your baking pan so the krispie treats slide out easily. If you want a dense, thick treat use an 8” x 8” square pan and pack the krispie mixture in tightly. If you prefer a thinner or slightly less dense treat, use a 13” x 9” baking pan and press the mixture down lightly.
- Cut and enjoy. These will be easier to cut once they have cooled. It’s not required and it does take some self-control not to devour them immediately, but you will get a cleaner cut once the treats are cool. A bench scraper works well for cutting but a large sharp knife will work too. Cut into squares or even use cookie cutters to cut the Reese’s Pieces Rice Krispie Treats into any shape you’d like!
More Sweet Treats You’ll Love
- Chocolate Peanut Butter Snack Cake
- Peanut Butter Oreo Cheesecake Bars
- Strawberry Crunch Cheesecake
- Chocolate Caramel Pecan Bars
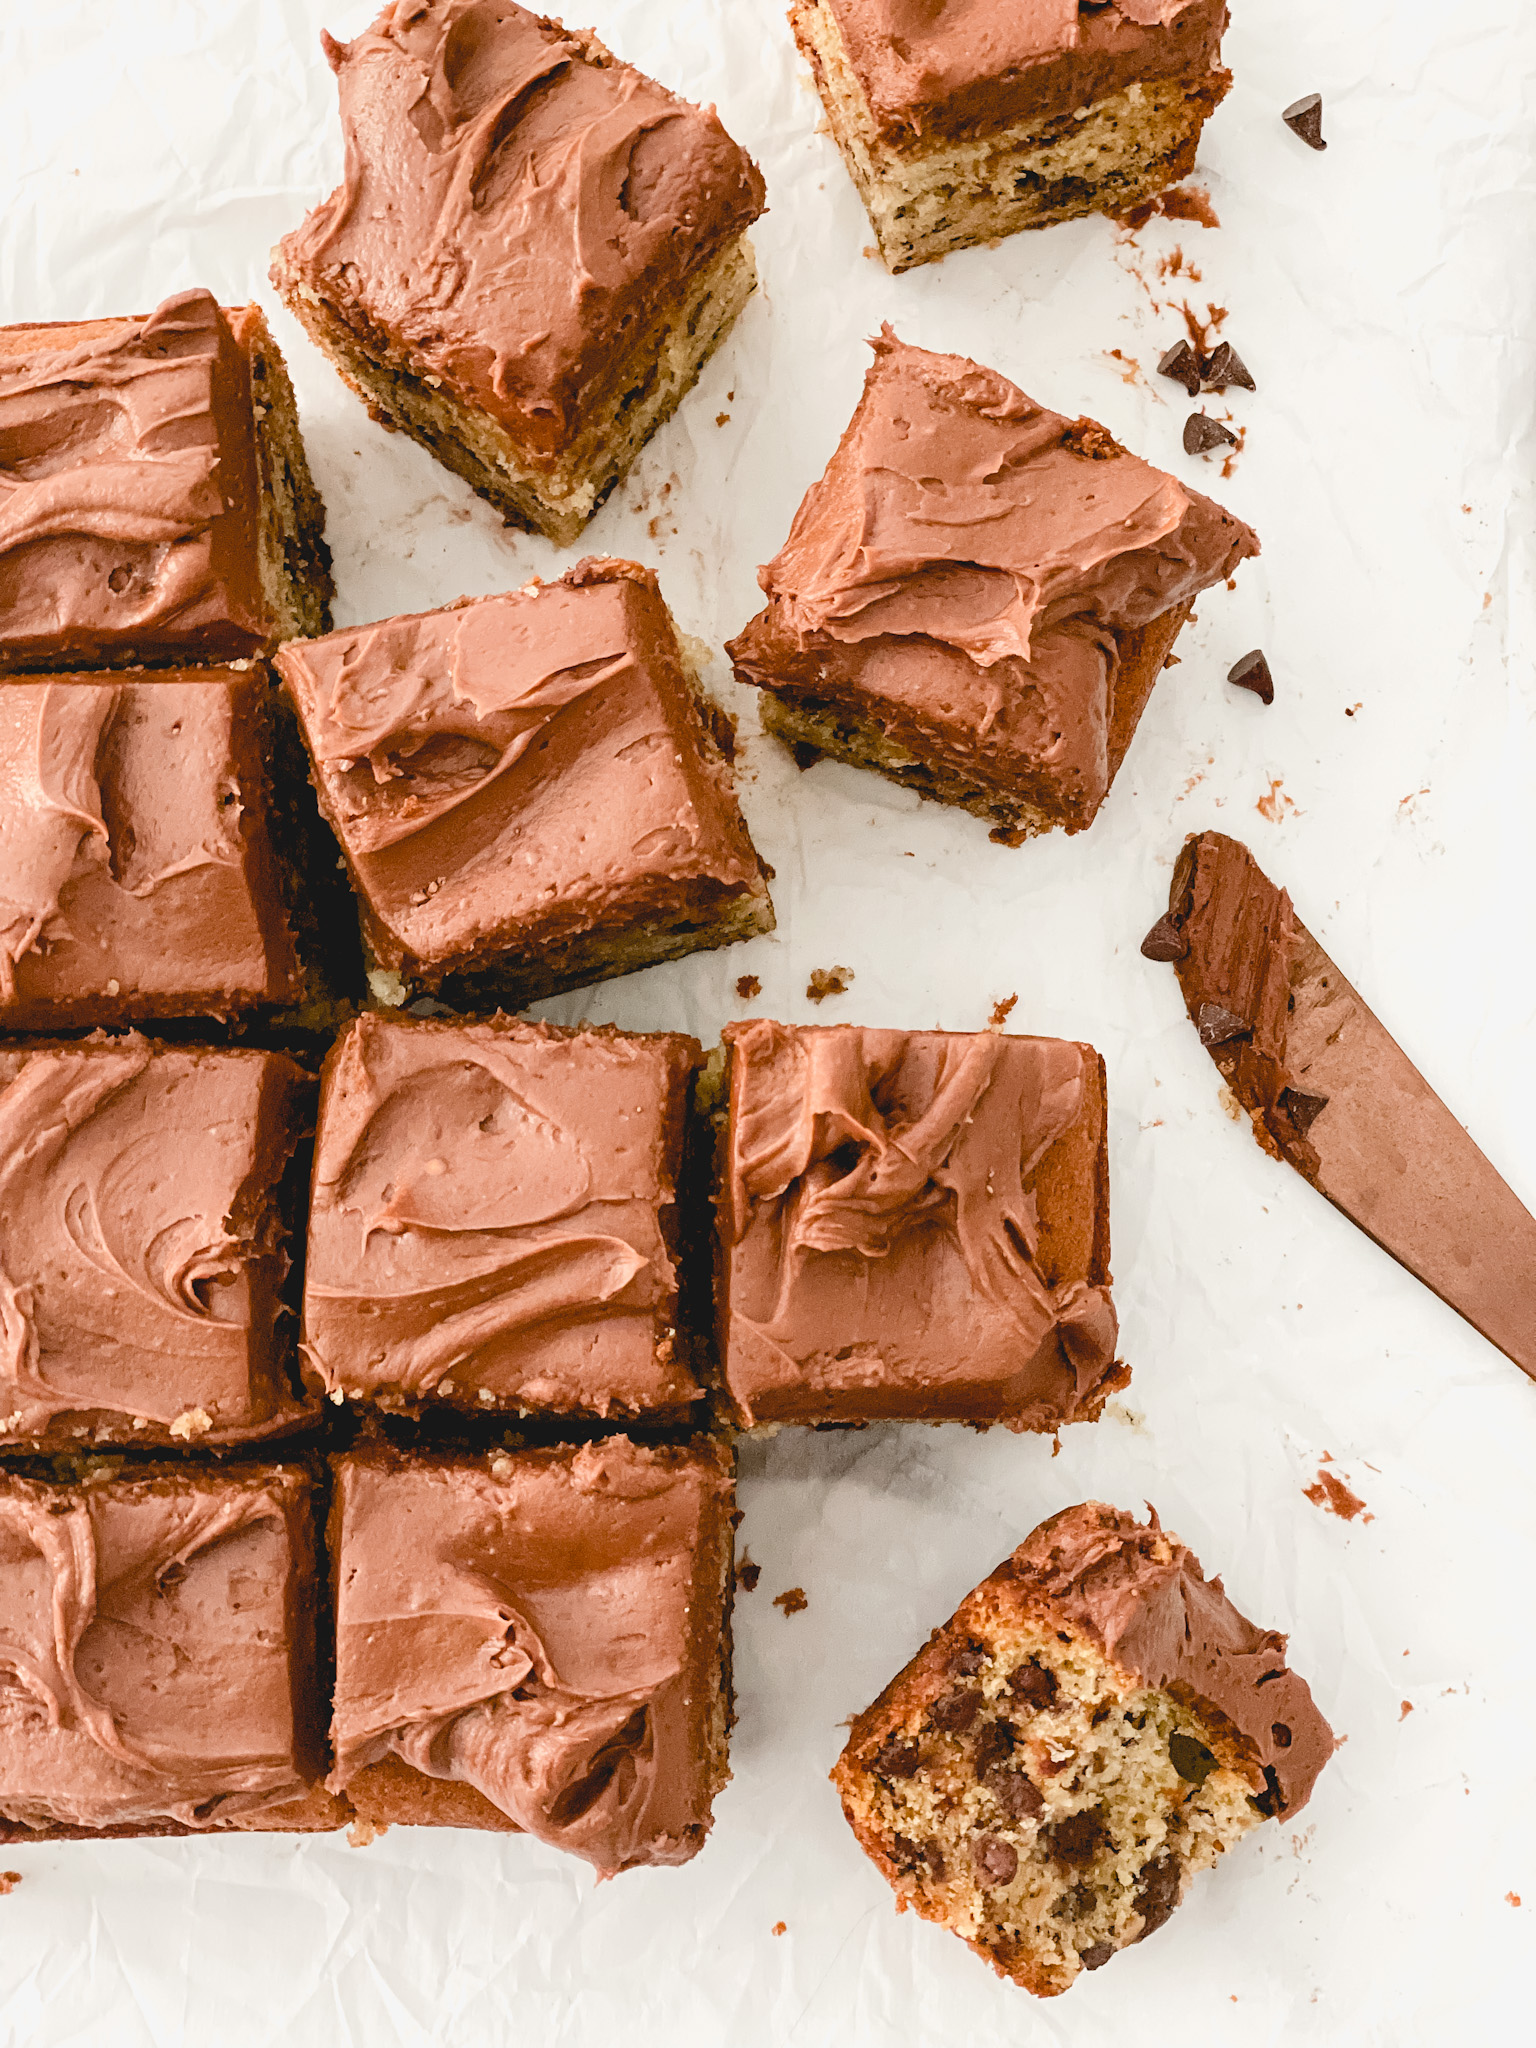
- Chocolate Chip Banana Cake with Chocolate Frosting

Lastly, if you make this recipe, be sure to leave a comment below and tag @sweetkitchencravings on Instagram or TikTok. Or if Pinterest is more your style, you can save my recipes to your collection there. Happy krispie treat making!

Reese’s Pieces Rice Krispie Treats
Ingredients
- ½ cup (113g) unsalted butter
- ½ cup (120g) creamy peanut butter
- 16 oz. (455g) mini marshmallows, divided
- 6 cups (160g) rice cereal
- ¾ cup (190g) Reese’s Pieces candies, a mixture of regular and mini-sized
Instructions
- Lightly grease an 8” x 8” square baking pan with cooking spray. Set aside.
- In a large pot, add the butter and melt over medium-low heat. Stirring constantly, brown the butter until it becomes foamy and a deep golden brown color. You’ll know it’s done when you see darker brown bits on the bottom and the butter has a nutty aroma.
- As soon as the butter is browned, add the peanut butter and stir continually until melted.
- Turn off the heat and add 12 ounces of marshmallows to the pot, setting aside the remaining 4 ounces for later. Stir until the marshmallows have completely melted.
- Add the rice krispies cereal and mix until they are completely coated with the marshmallow mixture.
- Add in the 4 ounces of remaining marshmallows and the reese’s pieces, reserving some of the reese’s pieces to add on top. Stir until they are evenly distributed throughout the mixture. Alternatively, you can pour the rice krispie marshmallow mixture onto a lightly greased counter and mix in the marshmallows and reese’s pieces with greased, gloved hands.
- Pour the mixture into the prepared pan, spreading evenly and pressing down firmly, with your hands or a greased spatula. Press extra reese’s pieces candies into the top, if desired.
- Allow the treats to cool before cutting. Cut into squares and enjoy!
Notes
- Peanut Butter: Use a traditional variety of creamy peanut butter like Skippy or Jif, rather than the natural kind.
- Reese’s Pieces: I used ½ cup (125g) of regular-sized and ¼ cup (64g) of mini-sized Reese’s Pieces. Reserve some of each to sprinkle on top if you’d like.
- Pan Size: For a thinner or less dense rice krispie treat, put the mixture in a 13” x 9” baking pan and lightly compact the mixture.
- Storing: Keep the treats in an airtight container at room temperature for up to 2 days or wrap them tightly in plastic, place them in a zip-top bag, and freeze for up to 3 months.